Stylish and practical interior shutters are an excellent choice for modern homes. Homeowners love their sleek design, sturdy build, and how they suit almost any style. They work great in spaces like bedrooms, living areas, or bathrooms.
📌 Key Takeaways
Learning how to install inside window shutters starts with selecting the right shutter style, material, and mounting method.
Accurate window measurements are essential for a proper fit and smooth operation.
Preparing the necessary tools and checking the window frame can make installation easier.
Proper alignment and secure hardware help shutters function correctly and look professionally installed.
Regular cleaning and maintenance can keep interior shutters durable and attractive for years.
Besides looking good, shutters have practical benefits. They help with privacy, control how much light you get, add insulation, and last for years. This guide will teach you how to install shutters inside your home, step by step, even if you’ve never done it before.
Picking the Best Indoor Shutters to Suit Your Room
Before grabbing your tools, make sure to pick shutters that match the size of your windows and suit what your room needs.
Different Types of Shutters
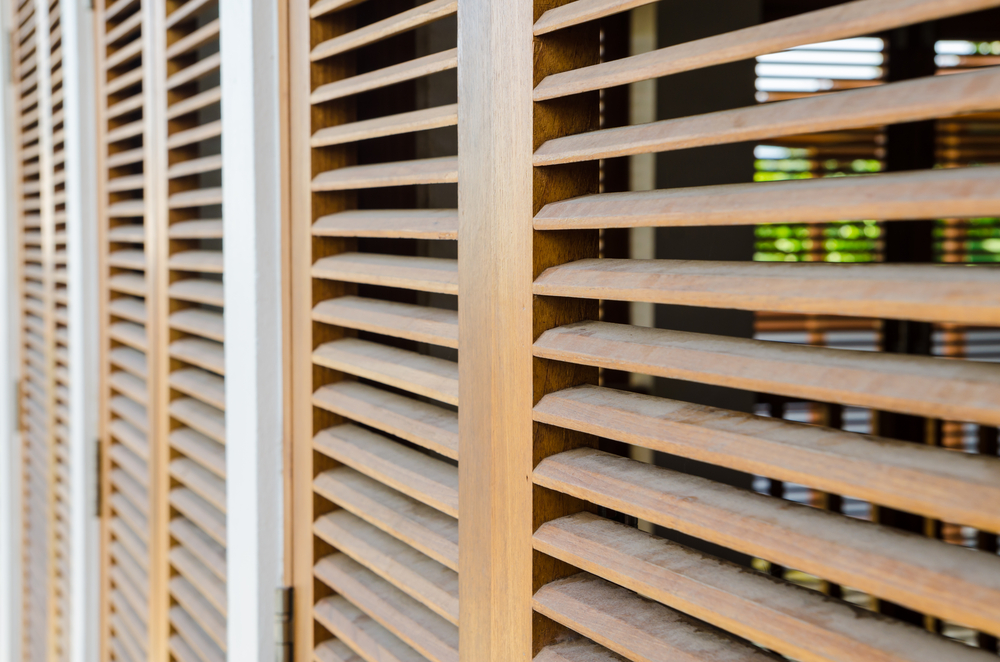
- Plantation Shutters: These have wide slats that you can adjust to control the light, and they give a timeless appearance.
- Café-Style Shutters: Covering just the lower part of the window, they give privacy without blocking the view for passersby.
- Solid Panel Shutters: They work well to block out all the light and improve insulation in the room.
- Tier-on-Tier Shutters: You can open or close the top and bottom sections to have more control over light and privacy.
Material Choices
- Wood: Traditional and appealing, it works best in dry spaces like bedrooms or offices.
- Faux Wood: It mimics real wood but resists moisture making it a smart choice in places like kitchens or bathrooms.
- Vinyl or Composite: These materials offer durability, are budget-friendly, and handle humidity well so they’re a practical option.
Things to Keep in Mind
Think about the purpose of the room, the shape of the windows, how humid the space gets, and the overall vibe of your décor. Picking the right style and material brings both usefulness and beauty.
Learning About Mounting Methods Before Adding Interior Shutters
Your choice of how to mount them influences the way they’re installed and changes how they look in the end.
- Inside Mount: People attach these shutters inside the window frame. This setup looks neat and built-in. But it needs exact measurements and frames with enough depth.
- Outside Mount: These are fixed to the wall or window trim. They can cover flaws and make the windows seem larger.
Pros and Cons
- Inside mounts give a tidy appearance. However, there’s less room to mess up measurements.
- Outside mounts are easier to work with. They are also great if you want to block more light.
Pick the option that best matches your window’s look, shape, and size.
Tools and Materials You’ll Need to Install Shutters Indoors
Make sure you gather all your tools before starting.
- Tape measure
- Drill and drill bits
- Level tool
- Pencil or marker
- Screws and wall anchors
- Screwdriver
- Protective eyewear
If your shutters are a specific brand, check if hardware or instructions are included. Many kits provide hinges, magnets, and frame parts.
Taking Accurate Window Measurements
Getting precise measurements is key to making installation easy and hassle-free.
Inside Mount
- Measure the width of the window at the top, middle, and bottom. Use the smallest measurement.
- Measure the height on the left side, center, and right side. Proceed with the shortest measurement.
Outside Mount
- Measure the area you want the shutters to cover.
- Add around 2 to 3 extra inches on all sides to improve light control and make it look more balanced.
Keep trim, window handles, and depth in mind when measuring. Check your measurements twice before placing your shutter order.
Steps to Get Ready Before Installation
Do these tasks before you start drilling or putting anything together:
- Clean the Window Space: Get rid of dust, dirt, or any old fittings.
- Check the Frame Condition: Ensure the surface is even and sturdy.
- Mark Where You’ll Drill: Use a pencil and a level to create guide lines.
- Assemble Parts if Needed: Some shutters might need parts put together before installation.
This prep helps you stay ready and avoid unexpected problems during installation.
How to Install Indoor Window Shutters: Step-by-Step Guide
Follow these steps to complete your installation without issues:
Step 1: Set Up the Frame
- Hold the frame where you marked.
- Drill small holes to prevent wood from cracking.
- Use screws and anchors to secure the frame in place.
Step 2: Attach the Shutter Panels
- Fix the panels onto the frame using the hinges provided.
- Test how they open and close to make sure they move.
Step 3: Adjust and Align
- Ensure everything is even and lined up.
- Tighten screws and add magnetic catches or stoppers if they came with your set.
Take your time because putting in the effort now avoids more trouble down the road.
Troubleshooting Common Installation Problems
Even when you plan everything, small problems can still happen. Here is how you can solve some of them:
- Panels Do Not Line Up or Shu: Adjust the hinges or move the frame.
- Frame Is Not Even with the Wall: Add spacers or use wall anchors to even things out.
- Gaps or Uneven Louvers Show: Re-check the level of the frame or shift the panels.
If you face bigger alignment problems, measure everything again before deciding if something needs replacing.
How to Tidy Up After Installation
After you have secured and tested everything to ensure it works right:
- Cover screw holes with caps or fill them using wood filler.
- Apply caulk along the edges to create a clean and polished appearance.
- Use a microfiber cloth to clean the shutters and clear away any dust or marks.
If the shutters are wooden, consider painting or staining them to protect the surface and enhance their style.
Taking Care of Your Interior Shutters
Although shutters don’t need much upkeep, a little effort keeps them in great shape:
- Dust Every Week: Wipe down with a soft cloth or vacuum using a brush attachment.
- Clean Stains: Tackle tougher dirt with a damp cloth and mild soap.
- Inspect Hardware: Tighten screws as needed and make sure hinges are working well.
To keep wood shutters looking good, you should think about refinishing them every few years. Vinyl or composite shutters need even less work to keep them clean.
Conclusion
Indoor shutters bring many benefits, from giving you more privacy to making your home more energy-efficient. The best part is that you can install window shutters inside your home by yourself if you take the time to prepare and stay patient.
By picking the right shutters, getting accurate measurements, and following this guide, you can achieve results that look like they were done by a pro. If you’re ready to choose shutters that suit your style, check out our collection of Florida window shutters made to last, look great, and install.
Ready to Begin?
Blue Chip Shutters & Blinds is here to make things easy. Whether you’re deciding on the perfect shutter design, figuring out your measurements, or just looking for a second opinion, you can always count on our team.
Give us a call today or book a free consultation online to turn your vision into reality!
FAQs
1. How to install inside window shutters correctly?
To install inside window shutters, start by measuring the window recess accurately and checking that there is enough depth for the shutter frame. Mark the drilling points, secure the frame with appropriate screws, attach the shutter panels, and check that everything is level and aligned.
2. Can I install inside window shutters myself?
Yes, many homeowners can install inside window shutters as a DIY project with the right tools and careful measurements. However, unusually shaped windows or custom shutter systems may require professional installation.
3. What tools do I need to install interior window shutters?
You will typically need a tape measure, drill, drill bits, spirit level, pencil, screws, wall anchors, screwdriver, and protective eyewear.
4. How do I measure a window for inside mount shutters?
Measure the width at the top, middle, and bottom of the window recess, then use the smallest measurement. Measure the height at the left, center, and right, and follow the manufacturer’s measurement instructions for the best fit.
5. What should I do if my shutter panels do not align?
Check whether the shutter frame is level and securely mounted. You may need to loosen and adjust the hinges, reposition the frame, or use spacers to correct uneven surfaces.